The stars aligned this weekend to provide childcare for my brood, the perfect Seattle snow storm, quarantine, and a cool project that's just aching for that custom part to be 3d printed. So, I dove in, failed fast, learned a lot at each step, and rapidly iterated towards some successful custom designed 3d printed prototypes. After one day I feel like I can design almost anything functional in TinkerCAD and print that bad boy on the Ultimaker 3. Below is the approach that I took, and I hope it might help some of you on a similar journey.
Acquire a 3D printer and filament
I got off easy on this one. Due to my office closing for COVID we had an Ultimaker 3 that was looking for a home and fell into my lap. I never went through the process of endlessly researching different printers before acquiring one, so I don't have much advice for this step in the journey. Obviously this can be a big investment and a big decision and I'm lucky I didn't have to make either. I can say that the Ultimaker 3 is amazingly powerful and versatile. Everything from PVA, to ABS, to special supports that dissolve in water, this thing can make almost anything that isn't metal. I'm not sure I would have landed on this printer if I were doing the cost/benefit analysis, but it is more than capable for my uses. To get acquainted I decided to Youtube a review of the Ultimaker 3 and I learned a ton.
Things I learned
3D printers can be expensive
Basic jargon - what's a printhead, filament, PVA vs ABS, supports, infill, slicing, etc.
3D printers get hot - they melt plastic!
My printer's basic capability according to the review
The software I needed to print a model (Cura for my Ultimaker 3)
Print a premade model and learn your printer's strengths, weaknesses, and basic settings
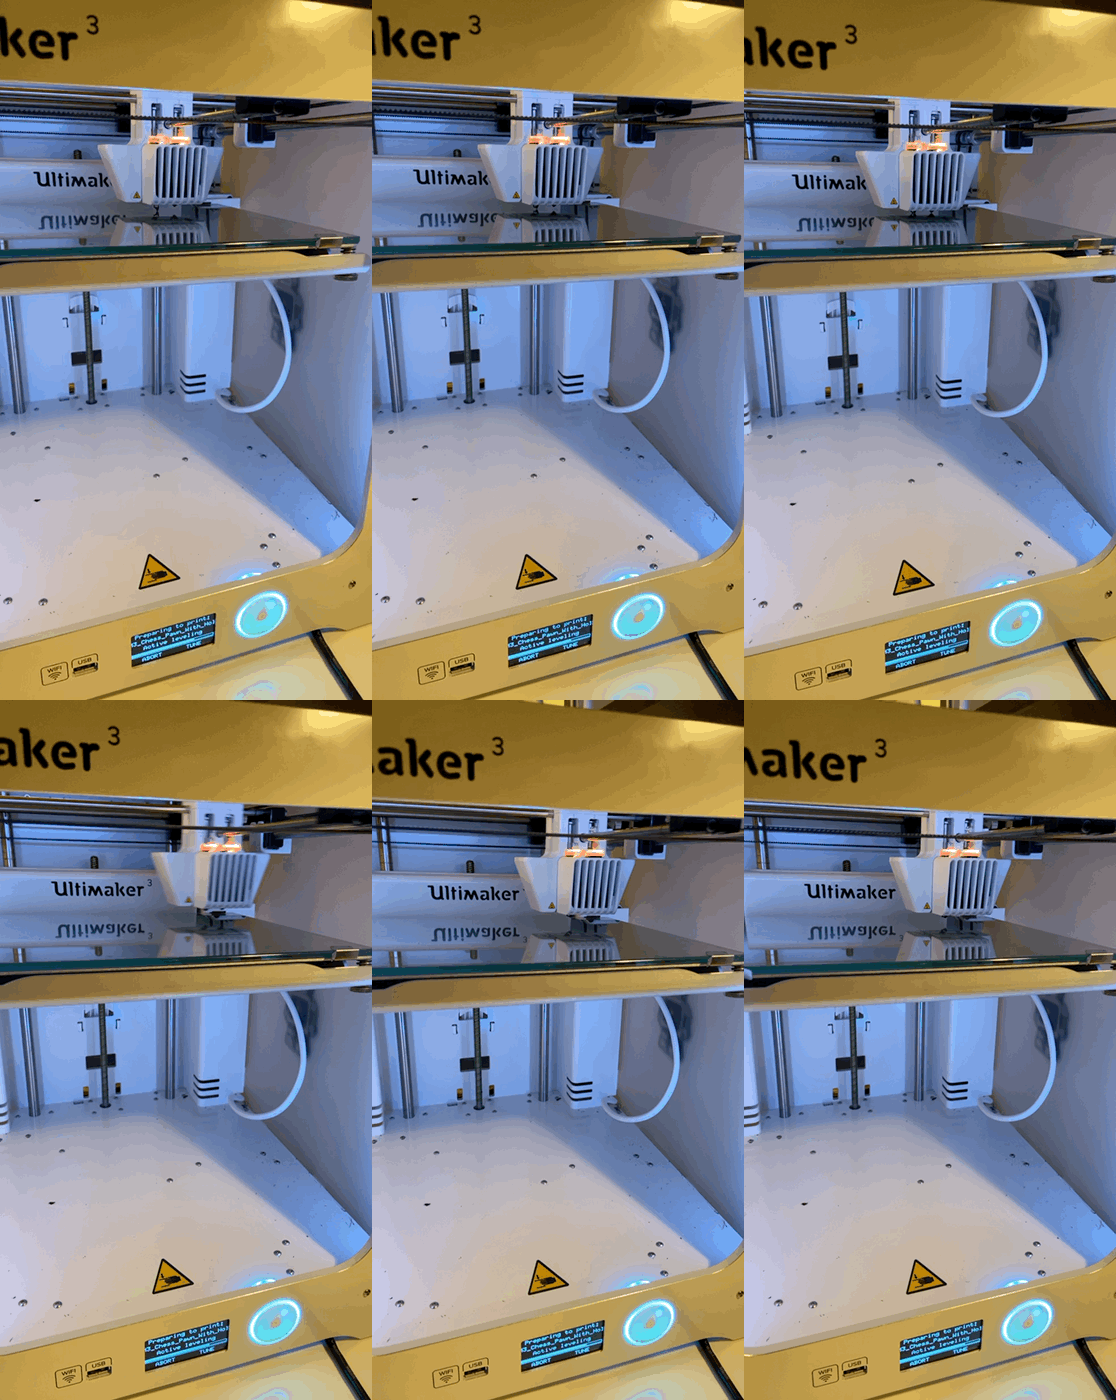
The first step I had to take (besides connecting to the thing and watching Youtube) was to get acquainted with how to print something. A great way to do that is to print a premade design that you can download from the internet. Thingsverse is a great repository and community that has a plethora of useful and cute things for your printer to crank out. I recommend one of the many calibration models that are designed to showcase your printers strengths and weaknesses. This article has a great selection of options and ultimately I chose the Calicat from this list. It would function as both a calibration test and be a cute critter I could keep on my shelf and show my friends.
Things I learned
How to find and download a model
How to send a print job to the printer
Basic print job settings
How to add filament
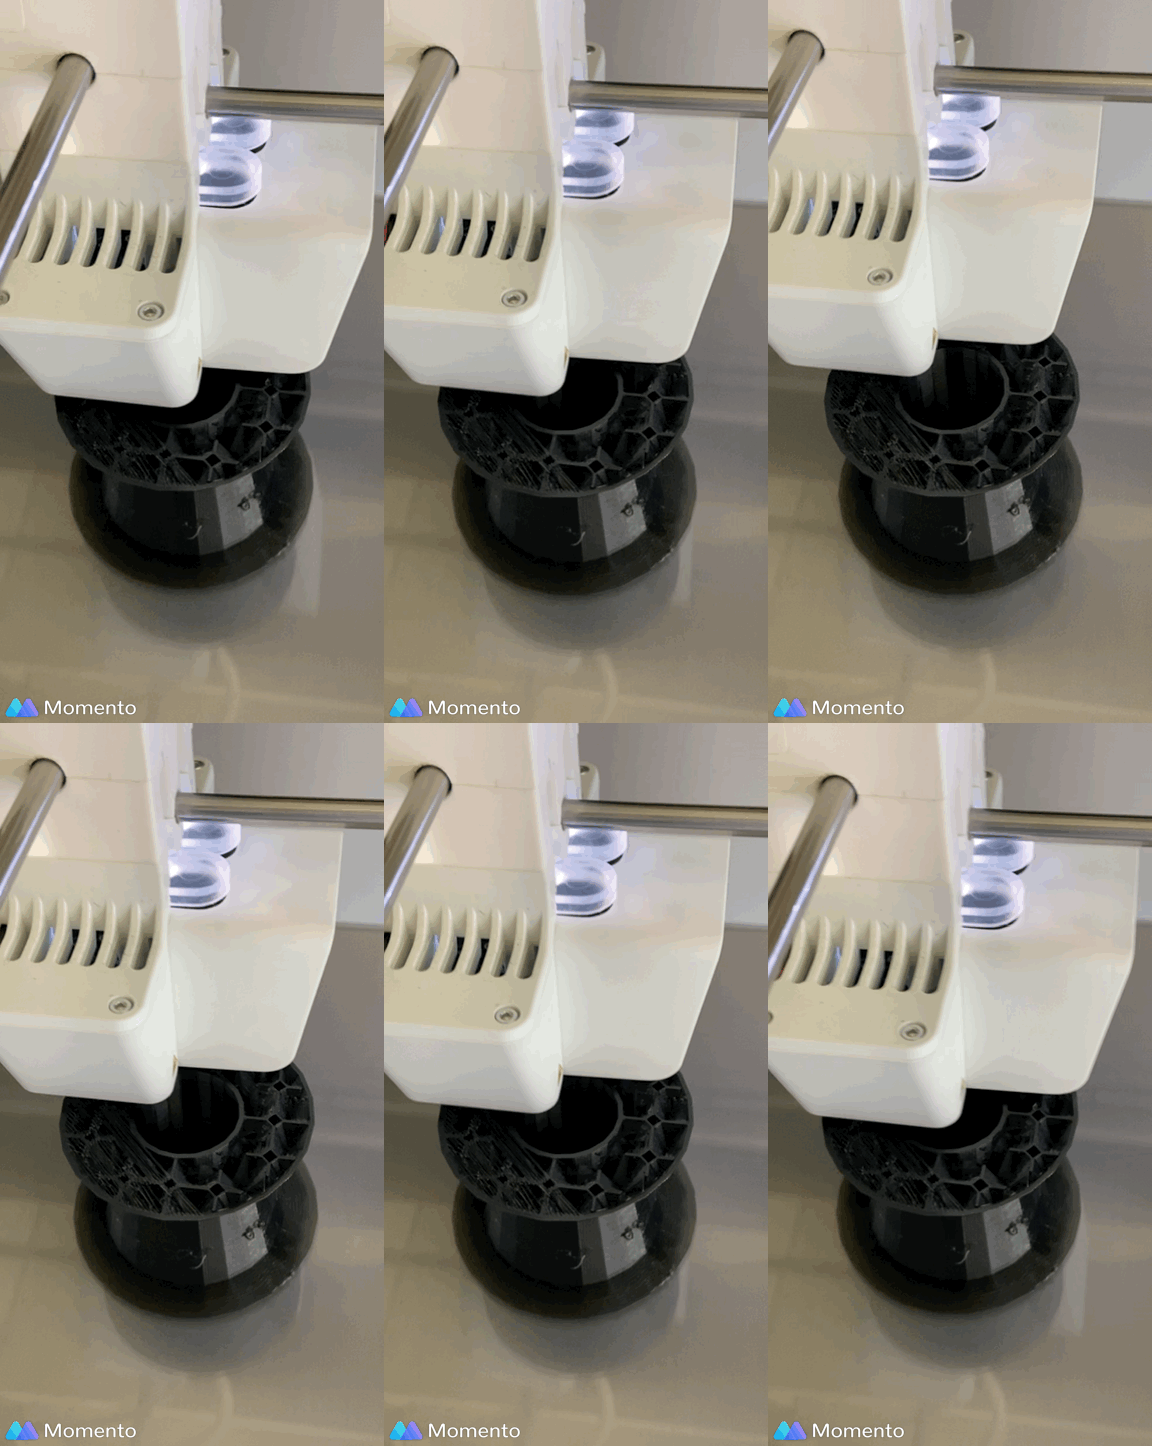
What the puddle of material is at the bottom of my model (It's called "adhesion" and it adheres the print to the print bed so it doesn't move around - you have to cut it off at the end)
What actually happens during a print
At the beginning the print head pushes out a "booger" or print material and wipes it on the print bed
Sometimes (always?) there's little hairs and print inaccuracies and mistakes in the print
The printer can struggle with fine detail
I can make things!
Pick an attainable prototype design goal
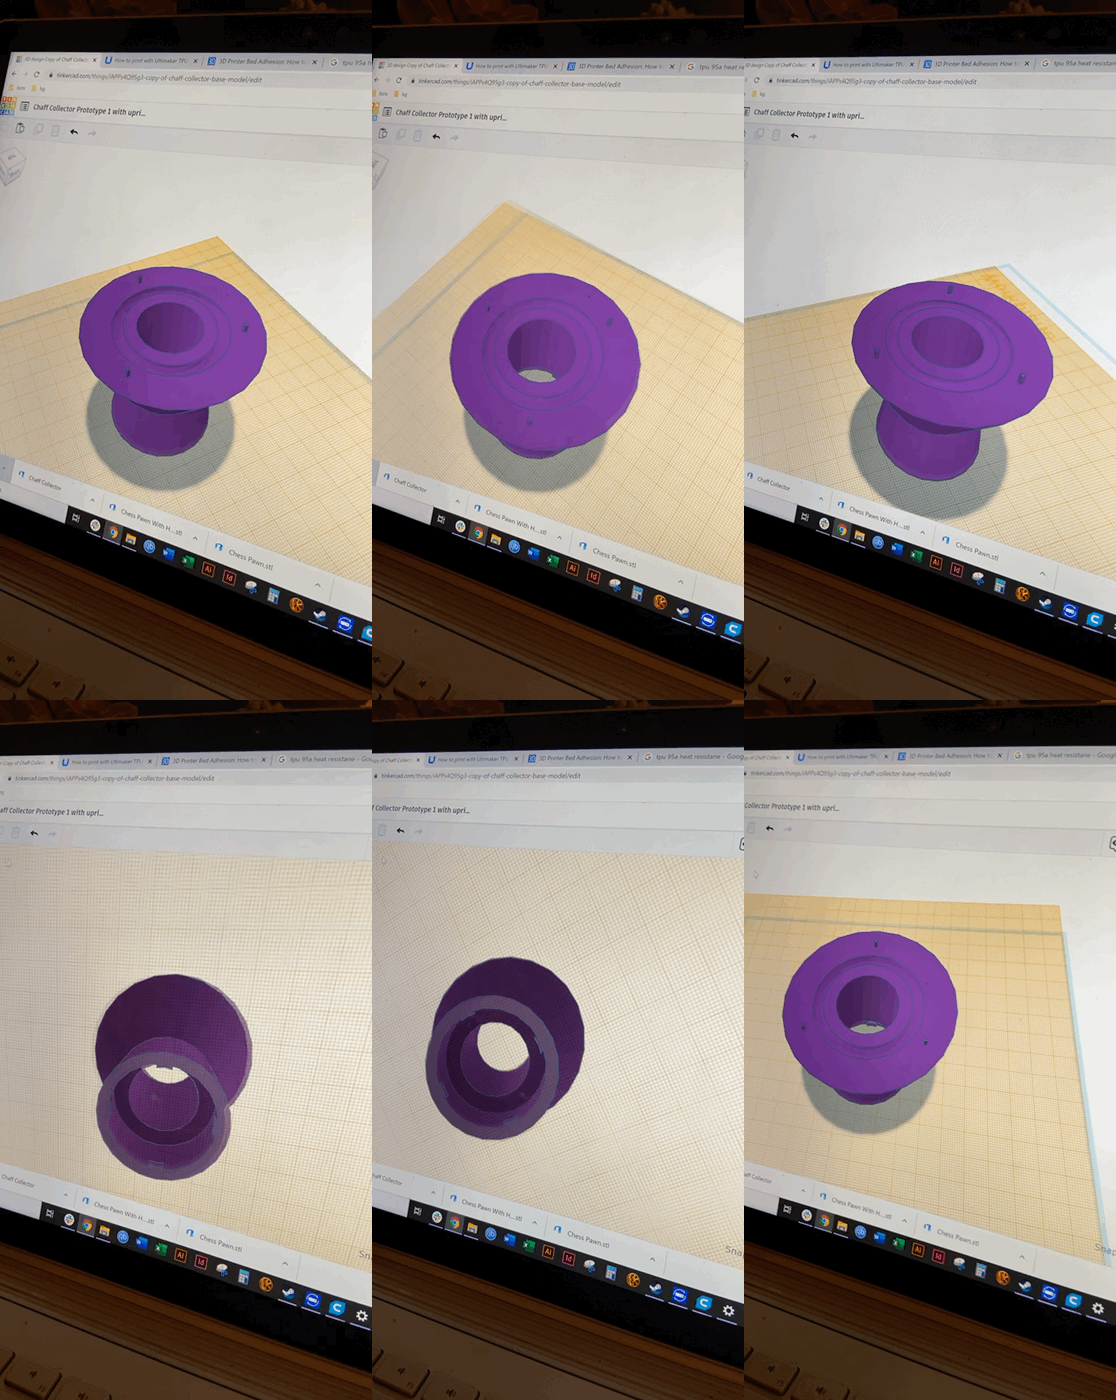
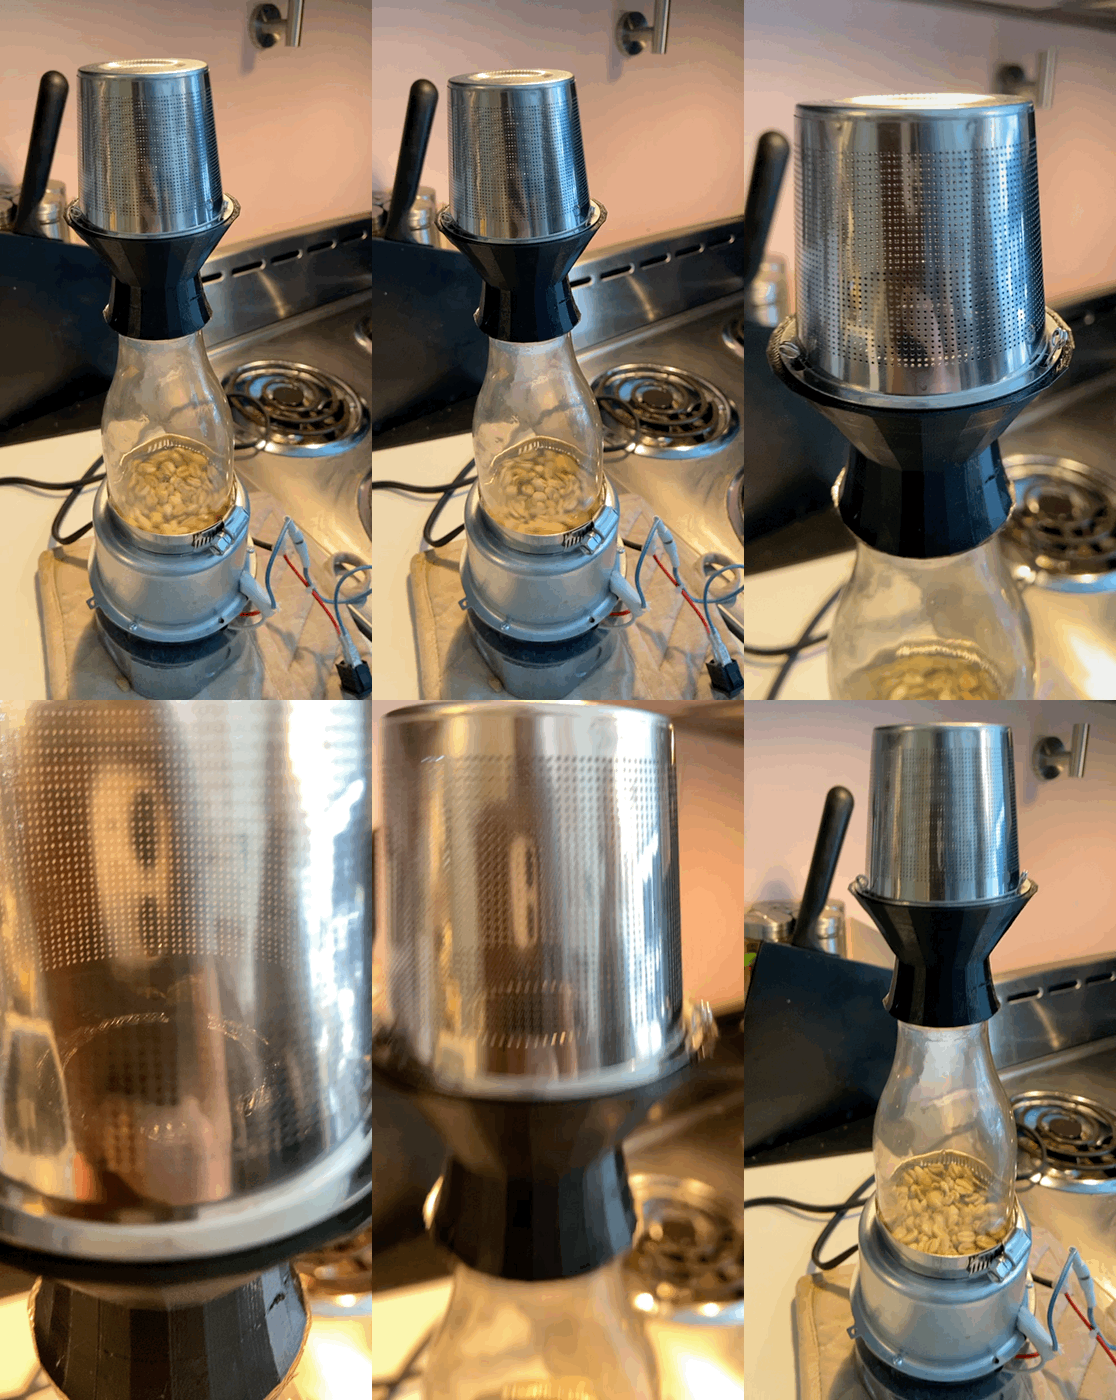
I've been working on building a coffee roaster and I wanted to 3d print a custom chaff collector. This seemed to the sweet spot of attainable, and also just beyond the level of "my first 3D print." Having a goal in mind will guide your next steps. Which software should you use? Which tutorials should you follow? These questions will have different answers based on what you're hoping to make.
Choose your CAD or modeling software
There's an overwhelming number of CAD and 3D modeling software options out there, each with their own quirks and learning curves. This video was a great survey of the options. If you're a beginner starting my from scratch, I can't recommend TinkerCAD enough. It was super easy to pick up and learn, and it had excellent tutorials already built in. It was free, and runs in a browser. These all make TinkerCAD an obvious first choice. If you already have experience using another CAD software, try that one! If you hate it, try another! There are no wrong turns, and many things to learn.
Things I learned
If you're a beginner, use TinkerCAD, its...
Free
Runs in a browser
Easy to learn
Really powerful
Free
Follow a couple of tutorials
Try to find some tutorials that help you learn how to design the things you actually want to prototype. TinkerCAD had built-in tutorials. Once you follow 3 or 4 of the built-in tutorials coupled with some that help with more specialized designs you should be prepared to design almost any basic shape. Personally, I followed the direct starter tutorials followed by the Die From Scratch and Chess Pawn tutorials. This YouTube video was also really enlightening for how to create any size nuts and bolts in TinkerCAD. After these, and actually printing the chess pawn, I was confident enough to start designing my own prototypes from scratch.
Things I learned
The basics of how to CAD an object with TinkerCAD
How to custom design basic shapes
How to design somewhat complex shapes
How to export the design to a .STL file and 3d print it
More complex 3d prints take hours
I can customize designs!
Design and print a couple of prototypes
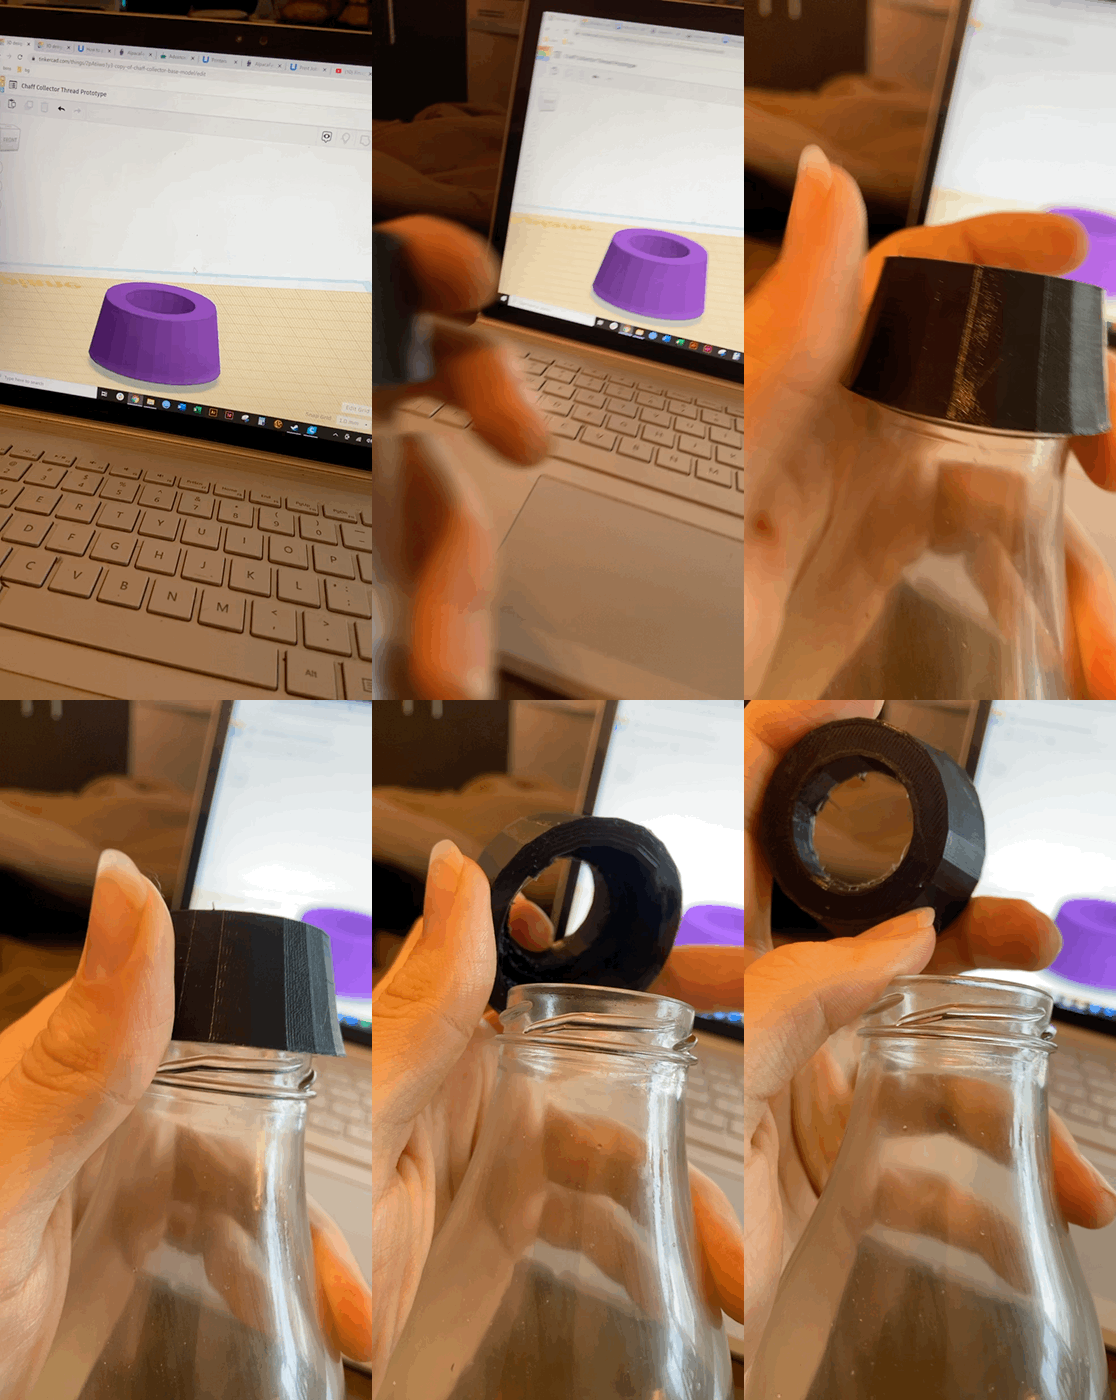
At this point I could start designing and prototyping to see what worked and what didn't. Expect to fail a few times, and learn in the process. I suggest starting small. For example, I printed only the bottom portion of my chaff collector prototype a couple of times until I got the threads correct. The first time, I learned that my printer prototype actually shrank about a millimeter cooling after the printer. I had to account for this little ideosyncrasy in the following prints. You'll have to fail, learn little things like that, and try again. That's ok, it's part of the process!
Things I learned
Holes shrink a tiny bit on my printer
Print the minimum thing you need to test. Just printing the bottom portion of my prototype saved me hours of unnecessary printing that would have been scrap anyway because I messed up an aspect of the design
Measure with a precise caliper any dimensions you need your print to adhere to
I can design things from scratch!
Success is learning
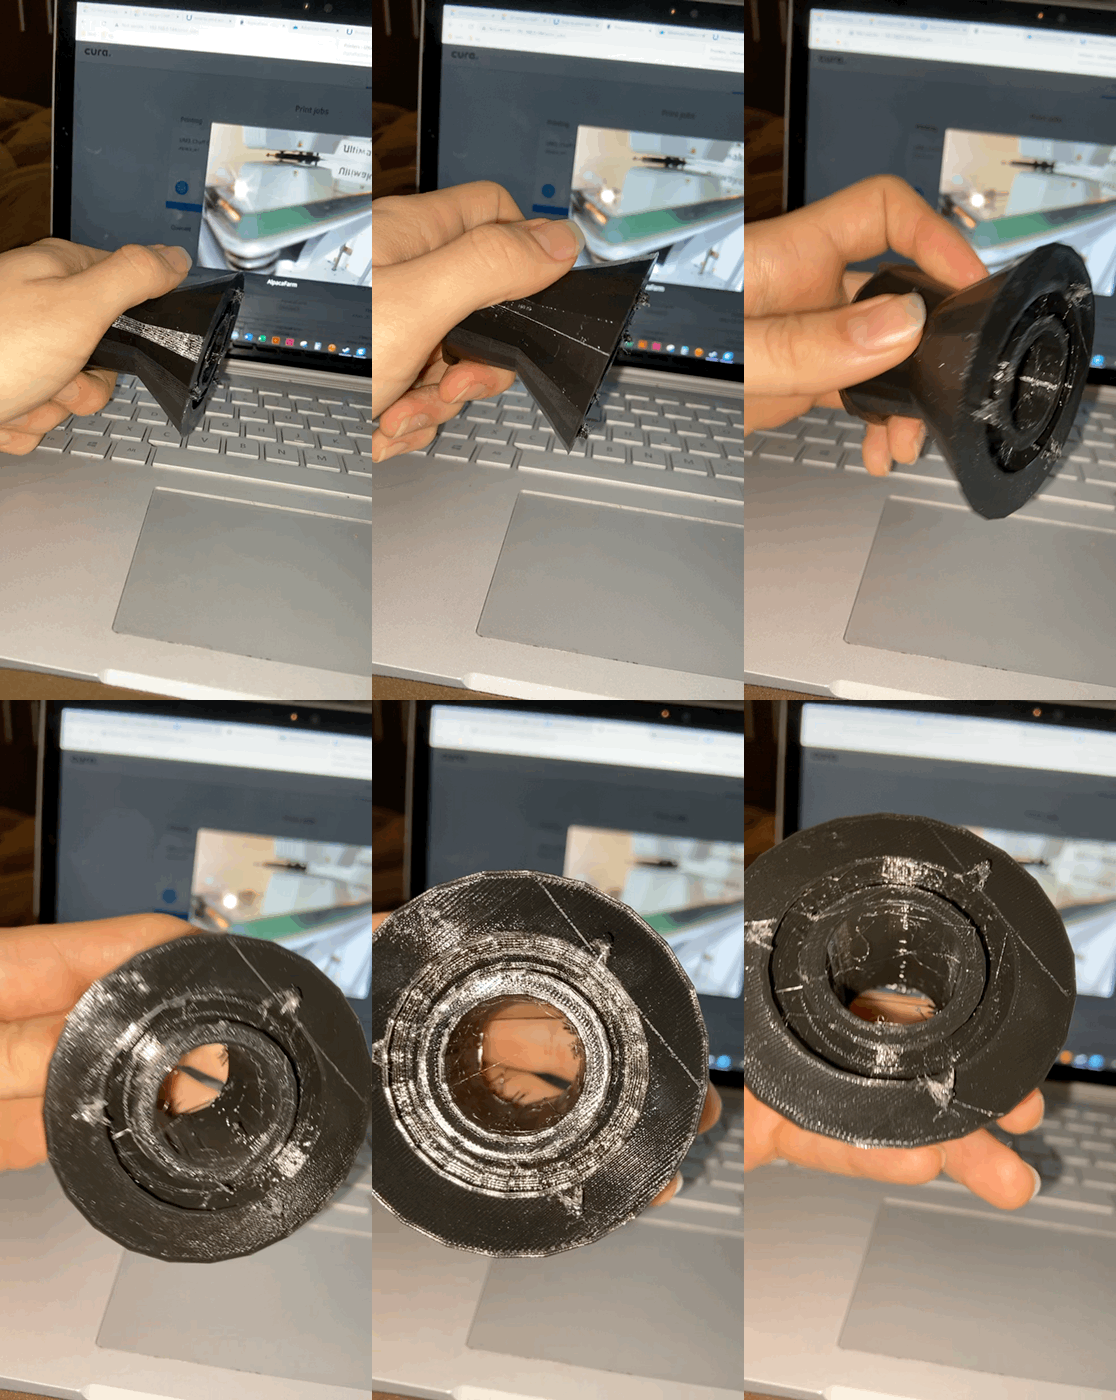
I was lucky enough to iterate towards a prototype that worked, and I'm really proud of it! But, many prototypes didn't. Some, I had to cut with a razor blade and adjust. Some didn't work at all, but each time I learned something and adjusted. Finally I ended up with something that worked. I learned SO MUCH just trying to custom design and print a prototype, and that, to me, is success. In the end, you may or may not have a prototype that works for you after day 1 of 3D printing, but you will have at least learned how to start that journey (and hopefully you aren't too far off). That is much more valuable.


Comments